For my daughter's birthday we built a DIY Barbie house. I have been meaning to share this with you guys for months! I have a ton of pictures now, and I can't wait to show you! (If you follow along with me on Instagram, you will have already seen some sneak peeks way back in January!)
Let's back up and start from the beginning. I was struggling to figure out what to get Olivia for her birthday. At the last minute (a little over a week before her birthday), I decided it would be really cool to purchase a Barbie house for her. I looked online but they all came furnished. I didn't want one with too much furniture because I had actually saved all my Barbie furniture from when I was little and wanted to use it in the house.
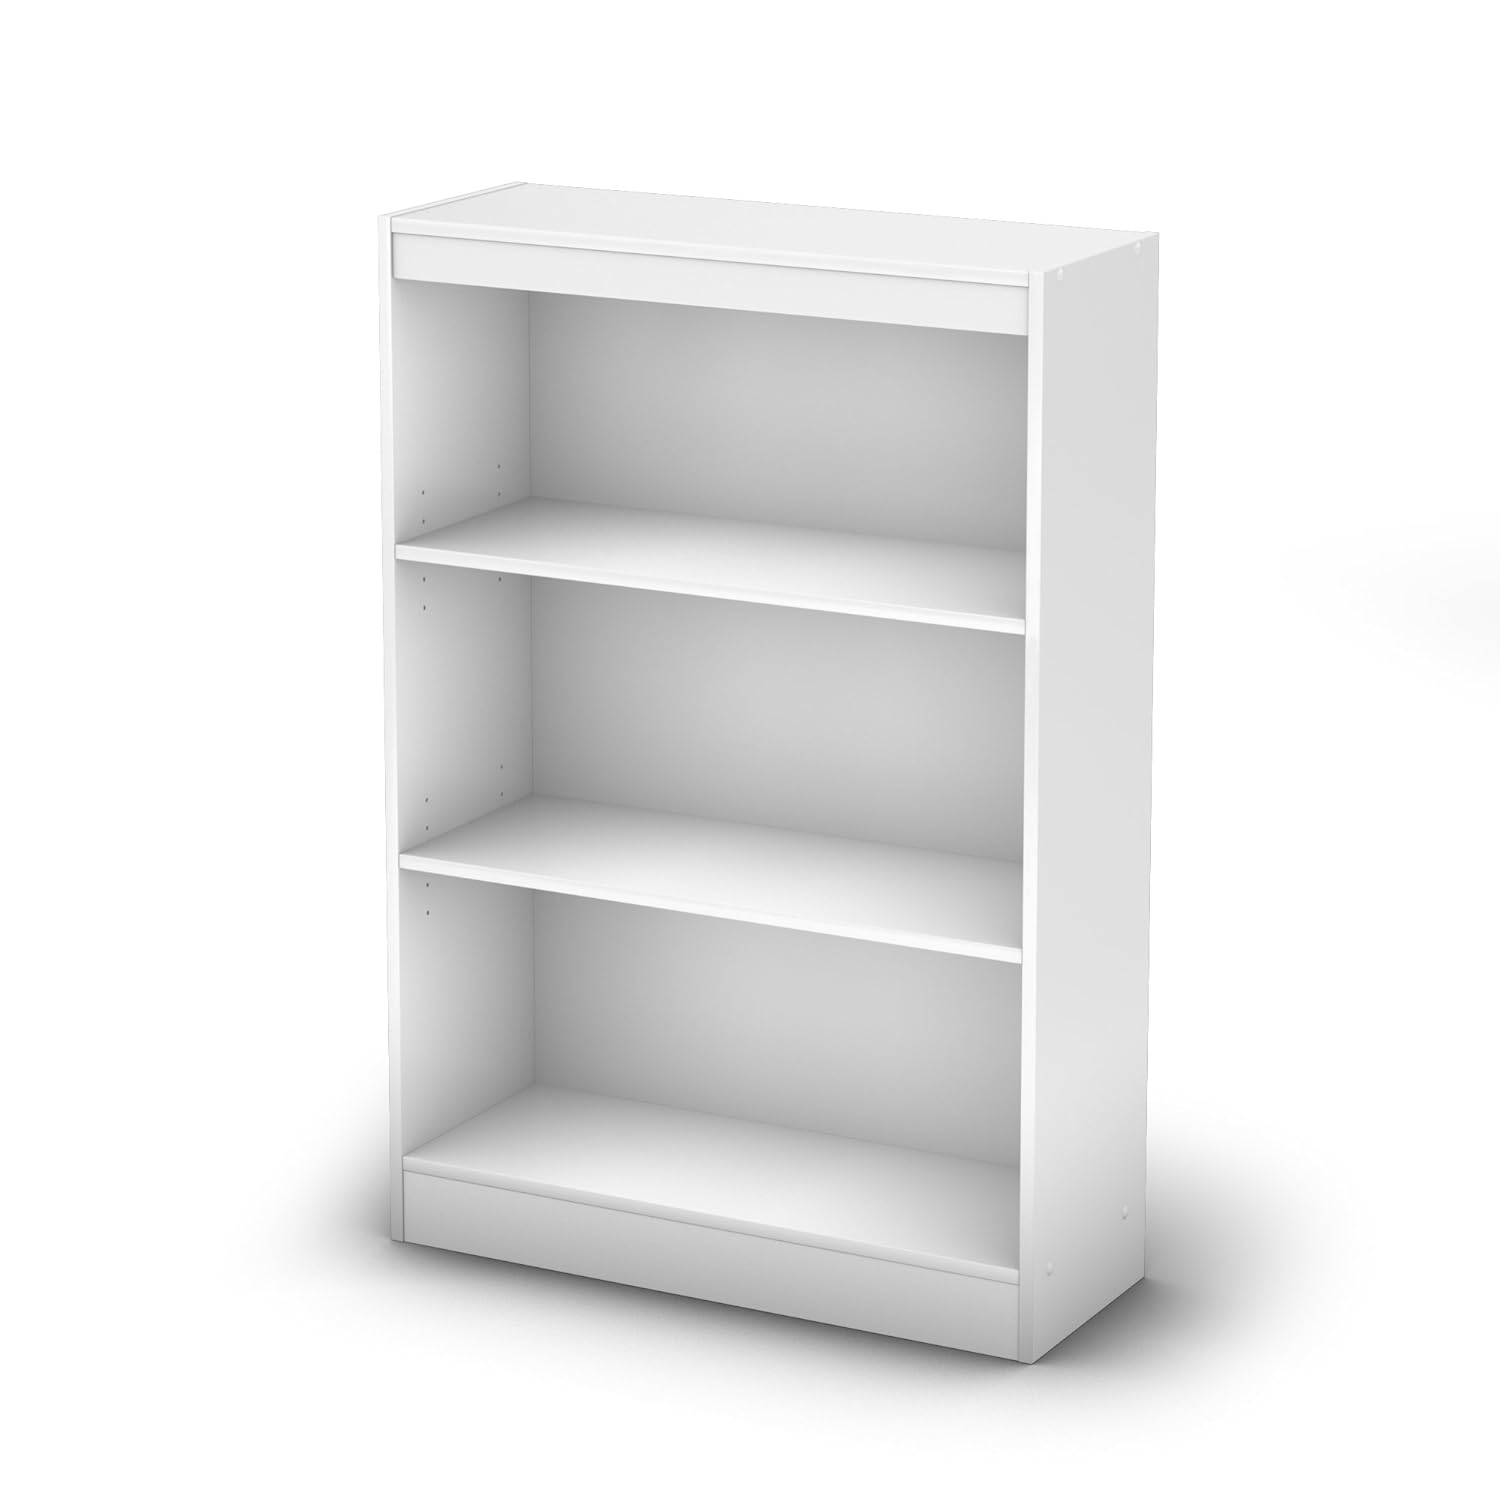
So, my next solution was to convert a bookshelf into a Barbie house. We found the perfect bookshelf (affiliate link) online - great price, great size for the furniture.
We found it on Amazon, but it was going to take WAY to long to ship to us since this was so last minute. There was no way to get it in time for her birthday party. Luckily, I have a patient husband who usually goes along with my insane ideas, and I suggested to him that we could build one ourselves.
I drew out a sketch based loosely off the dimensions of the bookshelf I found online and headed to Lowe's. We used MDF board to build the house. They come in 4 foot by 8 foot sheets for less than $35. I drew out how we could get the whole thing out of one sheet of MDF. We had one of the employees at Lowe's do all the cuts for us.
We got home and my hubby (with a little help from me) assembled the basic shape of the house/bookshelf. Unfortunately, I miscalculated the shelf depth. I didn't take into account the fact that there was a piece of MDF on the backside, so each of the shelves were sticking out a bit.
 |
| Oops! |
As you know, we were on a time crunch and we didn't have time to disassemble it or fool with the tools to cut the boards. (We don't have a table saw to cut long boards, so it would have been a huge headache!) I put on my thinking cap, and realized I could trim out the edges and the top to make it all look cohesive. I actually like that I had to add the trim because the "house" looks more finished.
Here you can see the two sides of the trim:
 |
| Inside trim |
 |
| Outside trim |
Here is the top edge (just a cheap piece of base board we had leftover from doing our kitchen):
Then, it came time to paint. I decided to paint it white as a nice, blank slate for decorating. It took several coats. I used a small roller and an angled paint brush to cover it all.
Once the paint dried, I was able to start decorating. So far, Olivia only knew that Daddy was building Mommy a bookshelf. She had no idea it was her new Barbie house. I used wood grain contact paper for the "wood floors". I used a few carpet squares cut down to carpet the bedroom and living room. I also used shelf liner to look like tile in the bathroom.
I had to wait until the night before her party to do the finishing touches on the decorating so I could hide it from Olivia. The house had been sitting in the middle of our living room so far. I purchased scrapbook paper and vinyl from Jo Ann's to decorate the walls with. I used vellum in the upstairs bedroom behind the bed. I used scrapbook paper in the upstairs bedroom and the living room. In the kitchen, I found a really fun sparkly pink vinyl to attach to the side wall.
Here are each of the rooms from the top down:
 |
| Roof |
 |
| Level 3 |
 |
| Level 2 |
 |
| Level 1 |
The roof has my old hot dog stand and some patio furniture.
The next level down has a bed, armoire and all the baby furniture.
Below that is a bathroom and another bedroom. I had the shower, but I purchased the little toilet as part of a set.
The very bottom level is the living room and kitchen. The kitchen furniture is also new as part of the
Barbie furniture set (affiliate link) I bought.
I made some little picture frames using scrapbook frames and different scrapbook sticker quotes I found. I didn't go overboard, because at some point when Olivia gets a little older I would love for her to be able to add her own special touches to the house.
She was so excited when she got to pull the sheet off and see the new house at her party! Even my son was excited to see it all finished.
I am hoping this will be great for her to play with for years to come. I know I played with my Barbies long after most of my friends. And at some point, when she is no longer interested in Barbies, it will make a great bookshelf for her room. The only thing we may still do to it is add some feet to the bottom, so it doesn't sit right on the floor.
Did you play with Barbies when you were little? I created a Barbie house in shelves in my closet when I was younger and that is actually what inspired this whole project!


 Linking up here:
Clean and Scentsible, SNAP Creativity, The 36th Avenue, Seven Thirty Three, The Girl Creative, Create, Craft, Love, Tatertots and Jello, A Night Owl Blog, I Heart Naptime, That's What Che Said, Sew Many Ways, Sugar Bee Crafts, Clumsy Crafter
Linking up here:
Clean and Scentsible, SNAP Creativity, The 36th Avenue, Seven Thirty Three, The Girl Creative, Create, Craft, Love, Tatertots and Jello, A Night Owl Blog, I Heart Naptime, That's What Che Said, Sew Many Ways, Sugar Bee Crafts, Clumsy Crafter
Labels: DIY, Kids, Olivia